Source Institutions
Source Institutions
Add to list Go to activity
Activity link broken? See if it's at the internet archive

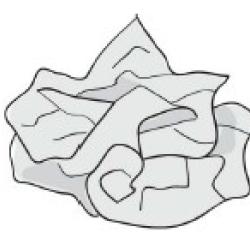
Learners gain an intuitive knowledge of the physical aspects of watersheds by creating their own watershed models. They crumple up pieces of paper into model mountain ranges, and then use water-soluble markers to identify the ridges of mountain ranges and the valleys of the watersheds. Next, learners mist the paper with spray bottles, observing how the ink bleeds down the sides of the mountains into the watersheds. The lesson plan includes handouts, background information, and suggested extension activities.
- 10 to 30 minutes
- 45 to 60 minutes
- 1 cent - $1 per group of students
- Ages 8 - 11
- Activity, Lesson/Lesson Plan, Model
- English
Quick Guide
Materials List (per group of students)
- 8.5” x 11” sheets of paper, preferably graph paper.
- One sheet of cardboard or tag board approximately 8.5” x 11”. (You do not have to be precise.)
- Several different colors of water-soluble, non-permanent, felt markers (e.g. Crayola). The best colors are dark colors, such as black, brown, purple, blue and green.
- Clean spray bottles
- Scotch tape
- Plastic relief map (if available)
- One shaded, paper relief map
- Materials to photocopy: Science Background, Student Procedure, and Master A (1 each per student).
Subjects
-
Earth and Space Science
-
Earth Structure
- Oceans and Water
- Earth's History
-
Earth Structure
-
Life Sciences
- Ecology
Informal Categories
- Nature and Environment
Audience
To use this activity, learners need to:
- see
- see color
- touch
Learning styles supported:
- Involves hands-on or lab activities
Other
Includes alignment to state and/or national standards:
Access Rights:
- Free access
By:
Rights:
- All rights reserved, OMSI, 2006
Funding Source:
- NASA
